Brush Fencing
If you like the privacy that a colourbond boundary fence offers, but prefer a warmer, more rustic finish – our stylish Brush Fencing could be the perfect solution. Tea tree branches are stitched together with galvanised wires and can help to drown out unwanted road noise. Made in Australia with sustainably sourced tea tree and pressed to 50mm thick, sturdy and strong – it’s quality is far superior to many other options on the market today.
Brush fencing design specifications
Our brush fencing panel comes complete with 2 x 2400mm long Bluescope Lysaght posts and 2 x 55mm high x 60mm wide rails that will frame the 50ml thick brush insert. The frame can be supplied in any current colorbond fencing colour or choose from our large range of stocked powder coat colours.
| SPECIFICATIONS | |
| Panel height | 1800mm |
| Panel length | 1800mm |
| Panel thickness | 50mm |
| Top & Bottom rail size | 55mm high x 60mm wide channel |
Every color you would want for your outdoor living.
As the quality of your finished product is important to us we only use premium quality powder coat colours. Choose from a large range of premium powder coat colours to complete the look and feel of your home.Our brush fencing panel comes complete with 2 x 2400mm long Bluescope Lysaght posts which need to be screwed back to back and concreted into the ground during the installation process. Should you wish to add extra strength, detail, a corner or start post to your fence we have many options.
Whether your main consideration is strength or aesthetics we have a large range of post options available. Available in either galvanised or premium powder coated finish.
- Sizes available: 50mm x 50mm, 65mm x 35mm, 65mm x 65mm, 75mm x 75mm, 90mm x 90mm, 100mm x 100mm, 125mm x 125mm.
- Standard lengths: 1200mm, 1500mm, 1800mm, 2100mm, 2400mm & 2700mm.
- Custom lengths post lengths available in a full range of premium powder coat colours.
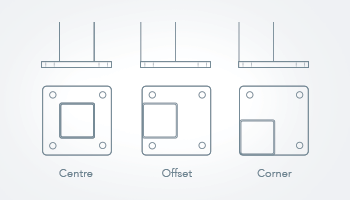
Posts on plates
For posts that are unable to go into the ground, we can supply posts with a welded base plate which can be dyna bolted to concrete or a paved area. Let us know which of these placement options best suits your requirements.
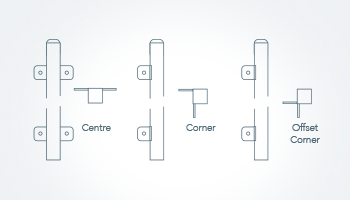
Welded Lugs
Can't dig your post into the ground or secure a post on a plate to a secure footing? We can manufacture posts with lugs welded prior to powder coating for ease of fixing to brick face.
Post Caps
If you find yourself in a sticky situation, speak to us about designing a post solution to solve your fencing challenge. We pride ourselves on being able to think outside the square and can custom design cranked or dog leg posts.
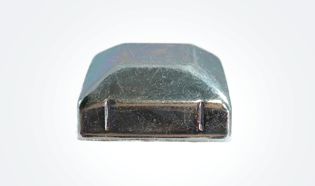
Standard Cap
Available on all post sizes.
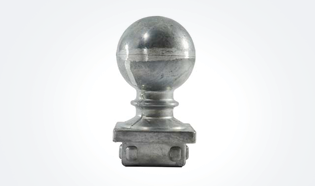
Ball Cap
Available on 50mm, 65mm, 75mm & 100mm posts.
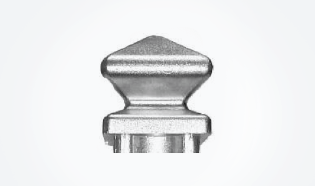
Décor Cap
Available on 50mm, 65mm & 75mm posts.
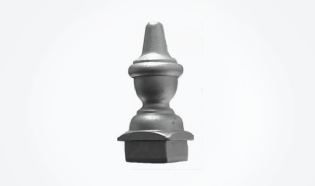
Windor Cap
Available on 50mm, 65mm & 75mm posts.

Crown Capital
Available on 100mm & 125mm posts.
 Step 1
Mark out and dig post footings at 1800mm hole centres and 600mm deep.
 Step 4
Using a temporary brace to support the posts, concrete the posts into the ground. Ensure the posts are aligned vertically using a spirit level. Allow the concrete to set overnight.
Step 5
Insert brush panel, ensuring it is framed within the side posts and bottom rail.


